

Managing bots
Bot settings
The bot's tabs, how to change settings, switching plans and when settings take effect.
Last updated: November 16, 2026
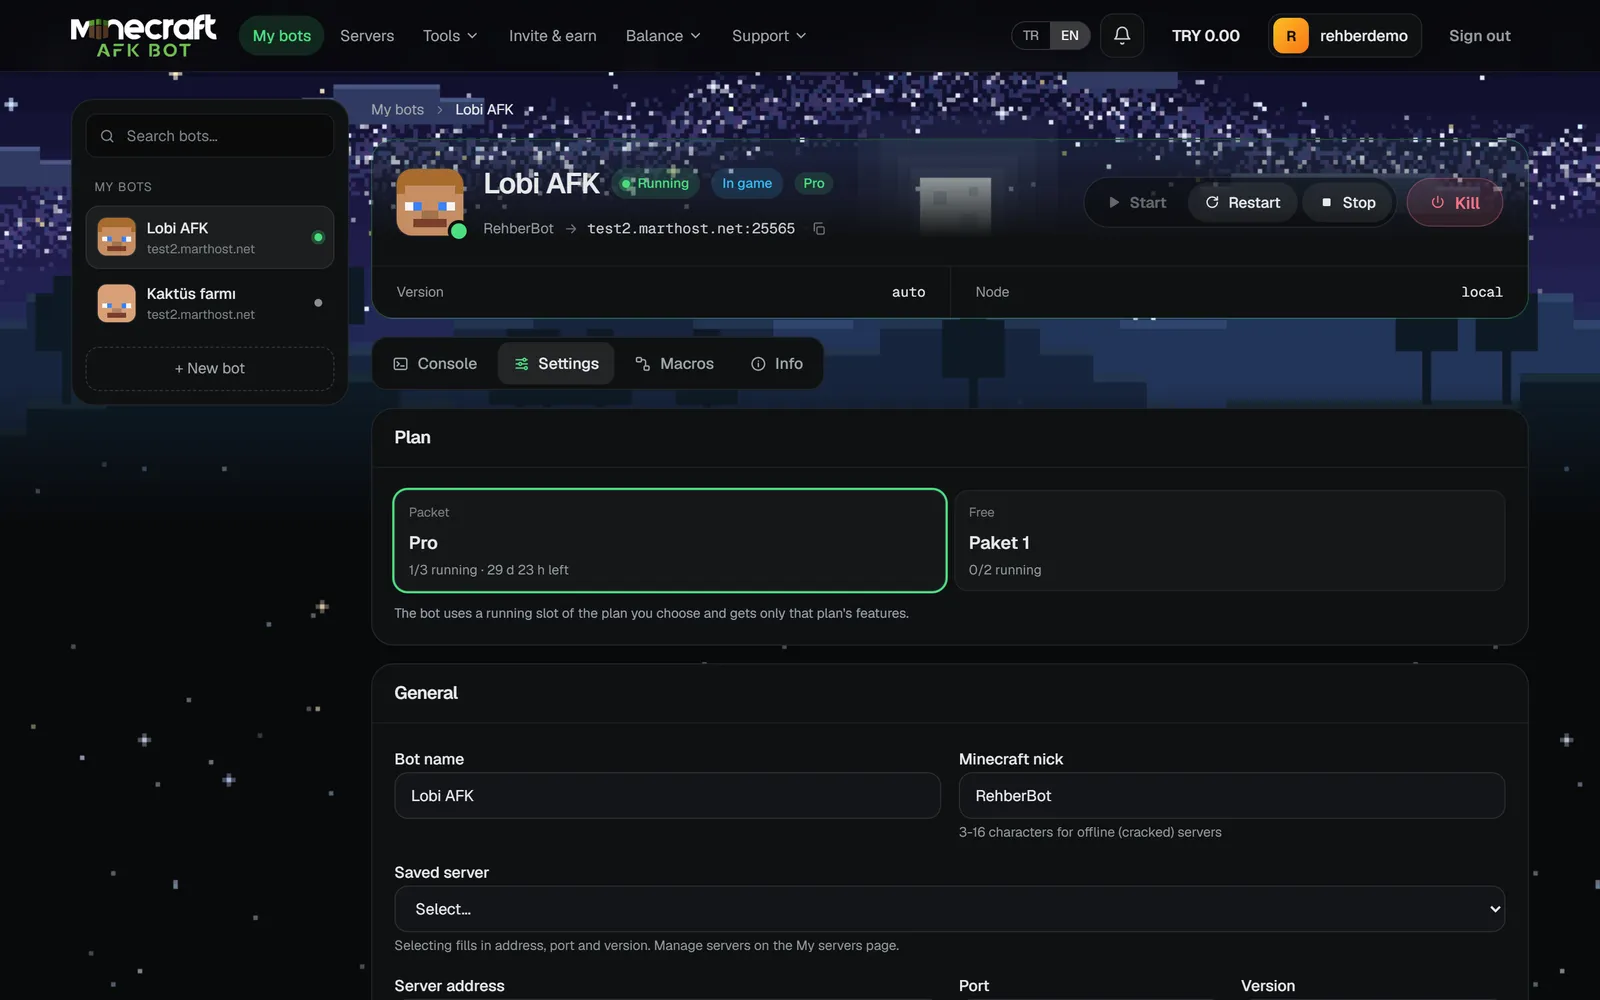
Clicking Console on a bot in My bots opens the bot's page. It has four tabs:
| Tab | What it is for |
|---|---|
| Console | Live log, chat, commands, inventory and the movement panel. See Console. |
| Settings | Change everything you entered when creating it. The menu on the left splits the settings into sections: General (plan, name, nick, server, version), Connection (proxy, reconnecting), Modules, Verification, Farming and digging and Notifications. Turn a module on with the switch in its header; its settings appear below it while it is on. |
| Macros | Assign macros to the bot. See Macros. |
| Info | Bot ID, node, version and creation date. Delete the bot permanently from the Danger zone. |
When do settings take effect?
If the bot is running when you save, the changes apply on the next start or after Restart. Start and restart always open the bot with the latest settings.
Changing a bot's plan
Pick another slot from the Plan card in the General section of the Settings tab. If the bot is running, changing its plan restarts it automatically. If its plan has expired and you have another slot, pick a new plan here.
Limits
- The bot name is 1-32 characters, the Minecraft nick 3-16.
- The version must be a Java version such as
1.20.4; a bot without a chosen version cannot start. With an unsupported version the bot stops and asks you to choose the right Java version.