
Getting started
Create your first bot
Create your first AFK bot step by step: choosing a plan, nick, server address, port and version.
Last updated: November 12, 2026
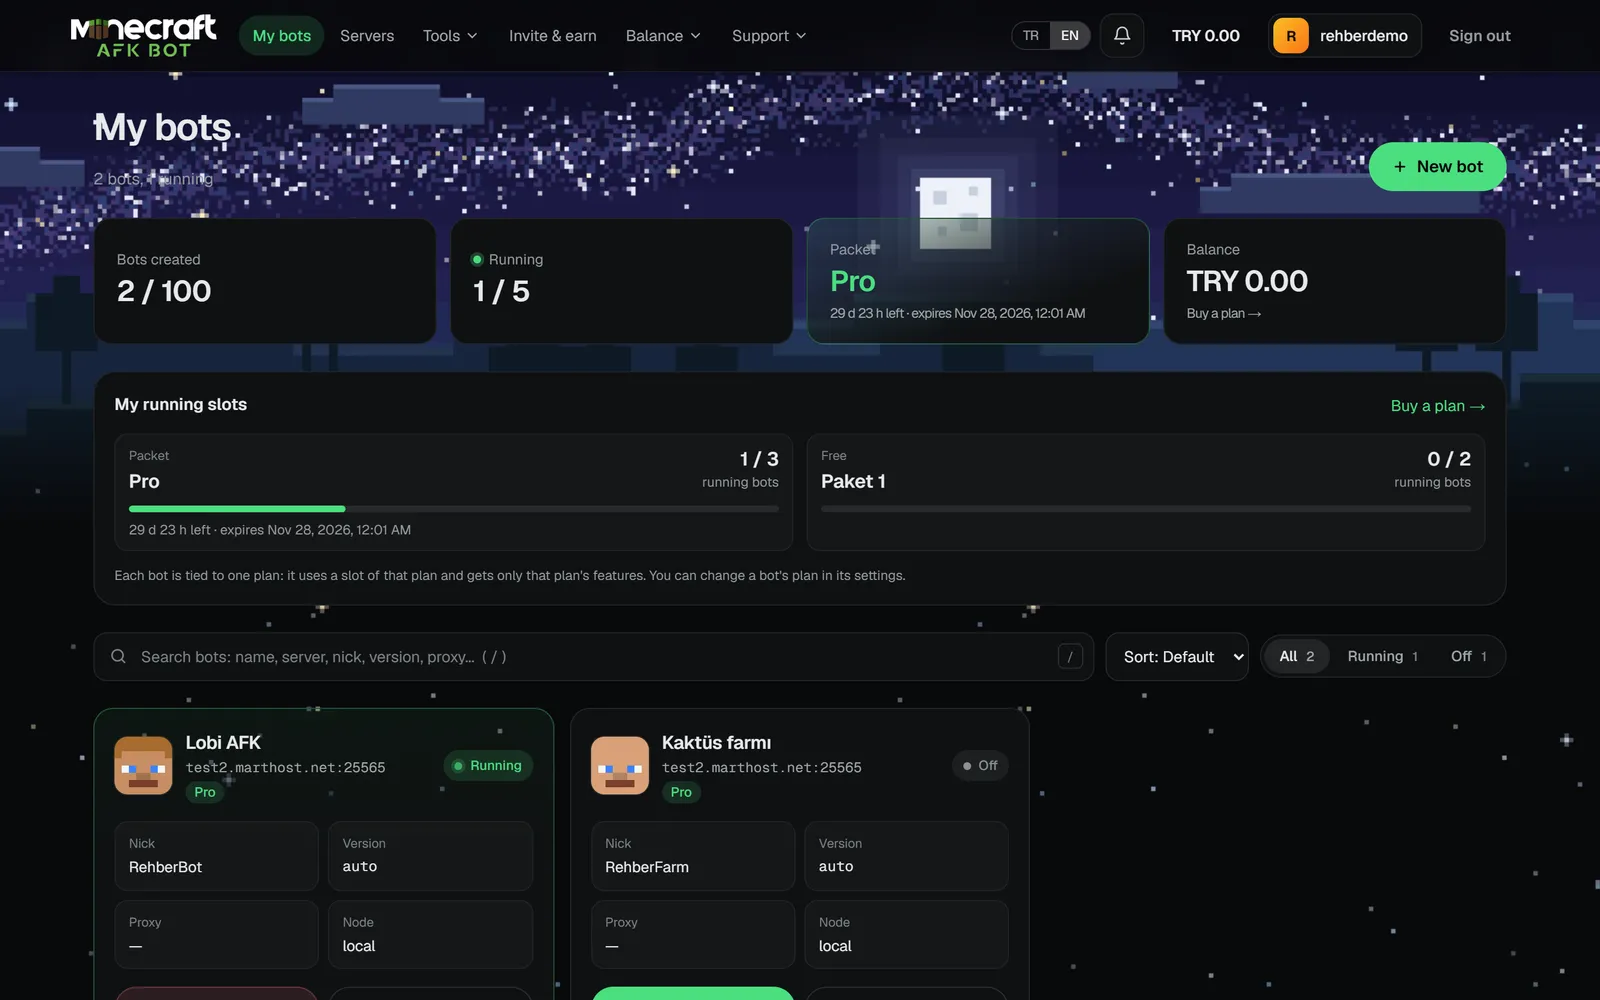
Creating a bot takes a few minutes. In the panel, click New bot on the My bots page.
1. Pick a plan
At the top of the form you see the running slots on your account. The bot uses one slot of the plan you pick and gets only that plan's features. If you have a single slot it is picked for you. Details: Plans and slots.

2. Fill in the general details
| Field | Description |
|---|---|
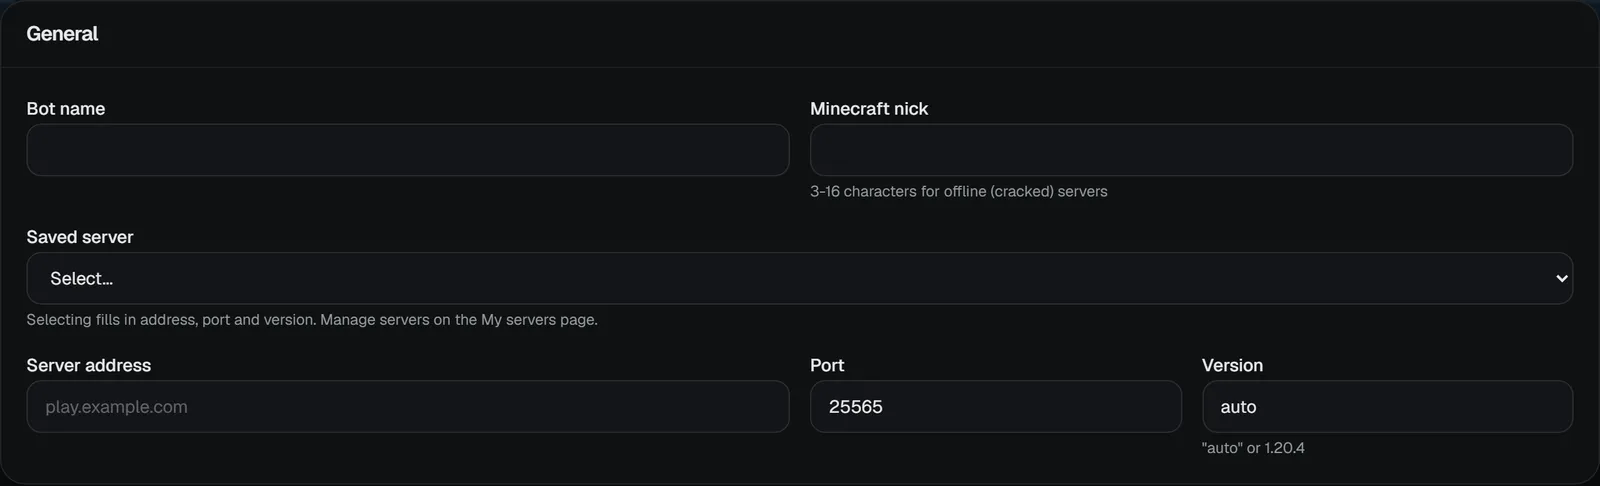
| Bot name | The name you see in the panel (1-32 characters). Not shown in game. |
| Minecraft nick | The bot's in-game name: 3-16 characters, letters, digits and _ only. |
| Saved server | Picking one from My servers fills in address, port and version. |
| Server address | E.g. play.example.com. Letters, digits, dots and dashes only. |
| Port | Default 25565. No change needed for addresses with an SRV record. |
| Version | Sunucunun Minecraft sürümünü listeden seç (ör. 1.21.4). Seçmeden bot başlatılamaz. |
Bot engine: 3.0 or 3.5
You do not choose the engine; it follows the Minecraft version. On 26.3, 26.2, 26.1.x and 1.21 – 1.21.11 the bot runs on the 3.5 (New) engine, which is lighter and faster. On other versions it runs on the 3.0 (Classic) engine with every feature. The Version field shows which engine the bot will use.
3. Proxy (optional)
With Automatic (system pool) the bot uses a random proxy from AFKBot's pool, or connects directly if the pool is empty. To use your own proxy, add it on the Proxy page first.
4. Behavior and modules
The lower part of the form holds the settings for auto-reconnect, auto-respawn and the farm modules. The defaults suit most servers; each one is explained in the Modules section. Modules not in your plan are shown locked.
5. Create and start
- 1Click Create bot.
- 2Start the bot with Start on its card.
- 3Open the bot's page with Console and watch it connect.